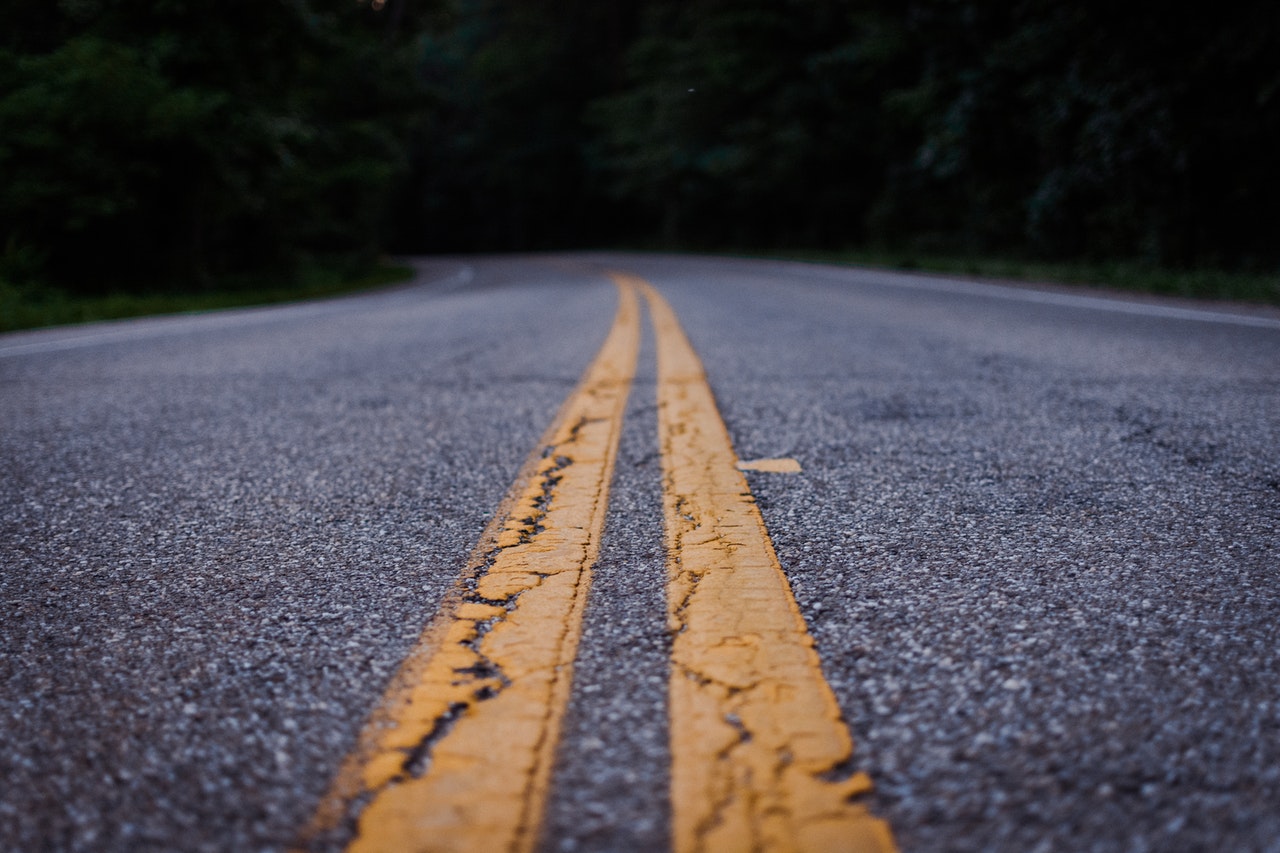
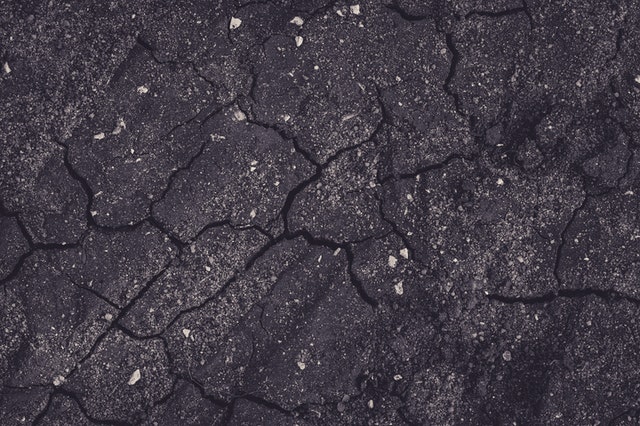
Cracks come in different sizes, and no driveway is safe from the possibility of cracking. If left untreated, these imperfections can get worst, and what was once a small surface crack will develop into potholes and may even compromise the sub-base of your pavement. That is why cracks in the pavement need to be sealed with an appropriate to make them safe for driving. And this process is called cracksealing.
Read more as we’ll tackle the best practices to follow when cracksealing asphalt pavements in today’s article.
Extra Fact: According to research, almost 75% of cracks on pavement will develop into ditches within 3 years, while 1% of those cracks that are sealed will develop these crevices in the same period of time. This goes to show how beneficial cracksealing is in terms of increased driver safety, reduced vehicle damage, and less road maintenance.
If your pavement needs cracksealing, it is important to have it done during the spring or fall season because the condition of the cracks are suitable for repair during these periods, unlike in summer when they are completely closed and in winter when they are completely open.
Indications When Your Pavement Needs Cracksealing
Cracksealing should be done before your driveway becomes too distressed. This process is recommended if the crack is not wider than 1/8” and should be deeper than 3/8”. However, if your pavement is already experiencing “alligator cracking”, or the type of cracking that resembles a hide of an alligator, then it already needs other repair methods as cracksealing won’t be able to fix this. Other than that, cracks wider than 1 1/2″ are not recommended for cracksealing.
Cracksealing Best Practices
Cracksealing placement can be performed in many ways, including reservoir, overband, flush fill, and a combination of the 3. Regardless of the placement method, the repairmen should use a wand tip for filling the sealant and the filling should be done starting at the bottom to ensure the sealant will seal all unseen cracks underneath (or also known as a ‘complete seal’).
To prevent the sealant from sagging once it cools and shrinks, it is recommended to fill the cracks at least 75% of the way from the bottom and let it cool down first before filling it completely. However, some experts suggest filling the pavement cracks evenly and return to any portion that is lower than the height of the driveway’s surface.
On the other hand, if your driveway is sloped and excessive sagging occurs, use a sealant with a higher viscosity to resist flow or sagging.
Moreover, repairers should use a drip stopper to be placed at the tip to avoid drips, puddles, and excessive filling of the sealant. And if there are puddles of sealant on the surface, use a flat blade at heat if before cutting to remove the excess puddle without harming the treated area of your driveway.
Finally, allow the sealant to cure completely before using your driveway again. The curing time usually depends on many factors like the type of sealant used, viscosity, weather, and the volume of traffic on your driveway. But just to be safe, allow 2-3 days of setting time before returning to your usual driveway activities.
Check out A-Rock Asphalt in Utah today and learn more about their asphalt sealing services if you need professional help in maintaining your asphalt driveway.